
Simplified Planner > Planner Usage > Creating a Plan
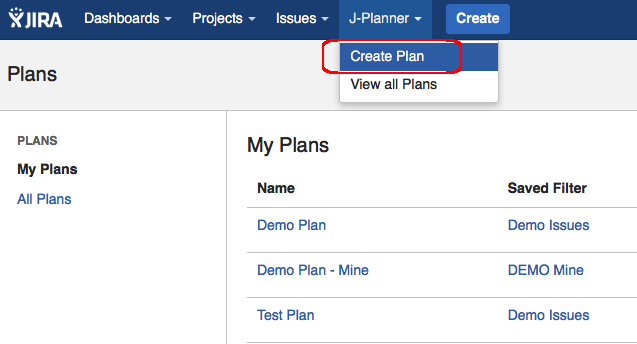
You can create a new plan by clicking on the Create Plan option under the J-Planner menu in the top navigation bar, as shown below.
The Create Plan dialog has seven fields, as shown below. Only Name and Filter are required fields.
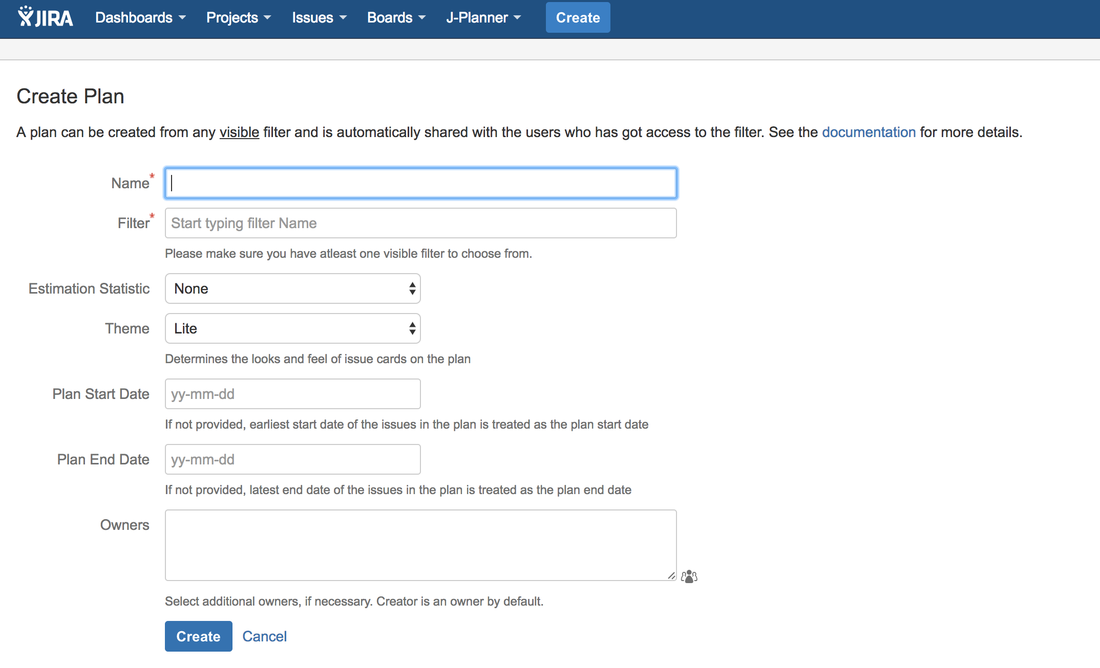
Name
Filter
Estimation Statistic
Theme
Plan Start Date
Plan End Date
Owners
Name
A meaningful name for the plan
Filter
Select a filter. You can start typing the filter name and select one from the results.
Note that the filter has to be visible to the user for it to appear in the dropdown.
Note that the filter has to be visible to the user for it to appear in the dropdown.
Estimation Statistic
A list of number fields. This field value will be showed in the timeline to aid capacity planning.
Theme
The theme determines the look and feel of issue cards on the plan. There are two values:
- Lite: Shows the issue cards in white background with red, green or grey borders, depending on the status of the issue in the plan.
- Classic: Shows the issue cards in light red, green or grey background, depending on the status of the issue in the plan.
Plan Start Date
Start Date of the plan. If not entered, earliest start date of the issues in the plan is treated as the plan start date.
Plan End Date
End Date of the plan. If not entered, latest end date of the issues in the plan is treated as the plan end date.
Owners
Owners of the plan. Only owners can manage or modify the plan. The user who is creating the plan is automatically an owner.